The evidence of a busy week is usually waiting inside your vehicle: coffee in the cup holder, crumbs below the back seat, muddy shoe prints, and a layer of dust across the dash. This interior car cleaning guide helps Frederick-area drivers reset their cabin without wasting products, damaging surfaces, or spending an entire Saturday on the job.
A clean interior does more than look better when you open the door. It makes daily commutes more comfortable, helps protect upholstery and trim from wear, and keeps allergens, food residue, and odors from settling in. Whether you drive kids to practice, commute from Urbana, or run errands around Frederick, a simple process gets better results than tackling the mess at random.
Start Your Interior Car Cleaning Guide in the Right Order
Cleaning in the wrong order creates extra work. If you vacuum first and then wipe down dusty surfaces, the debris falls onto the carpets you just cleaned. Work from top to bottom and from the cleanest areas toward the dirtiest ones.
Begin by removing everything that does not belong in the vehicle. Take out trash, water bottles, receipts, bags, and floor mats. Check seat pockets, door pockets, the center console, and under the seats. This is also a good time to set aside anything that needs to go back into the house instead of living in your car.
Once the cabin is cleared, open the doors if weather permits. Fresh air helps when you are cleaning products, lingering food odors, or damp carpets. Avoid soaking the interior, especially on a humid Maryland day, because trapped moisture can create musty odors later.
Gather simple, surface-safe supplies
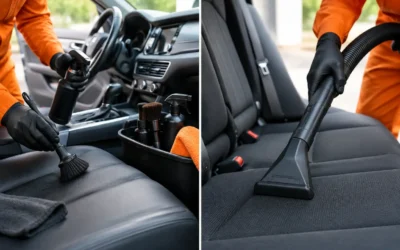
You do not need a shelf full of specialty bottles. A vacuum with crevice attachments, several clean microfiber towels, a soft detailing brush, an interior-safe cleaner, and glass cleaner cover most routine jobs. For fabric seats or carpets, keep an upholstery cleaner or spot treatment on hand.
Use separate towels for glass, plastic, and upholstery. A towel that has picked up grease from a cup holder can leave streaks on your windshield or transfer grime to a light-colored seat. When trying a new cleaner, test it in a hidden area first, particularly on leather, suede-like materials, matte trim, or screens.
Clean the High Surfaces Before the Floors
Start with the headliner, visors, upper trim, and dashboard. The headliner deserves a light touch. Spray cleaner onto a microfiber towel, not directly onto the fabric, then blot gently. Excessive scrubbing or moisture can loosen the adhesive behind it.
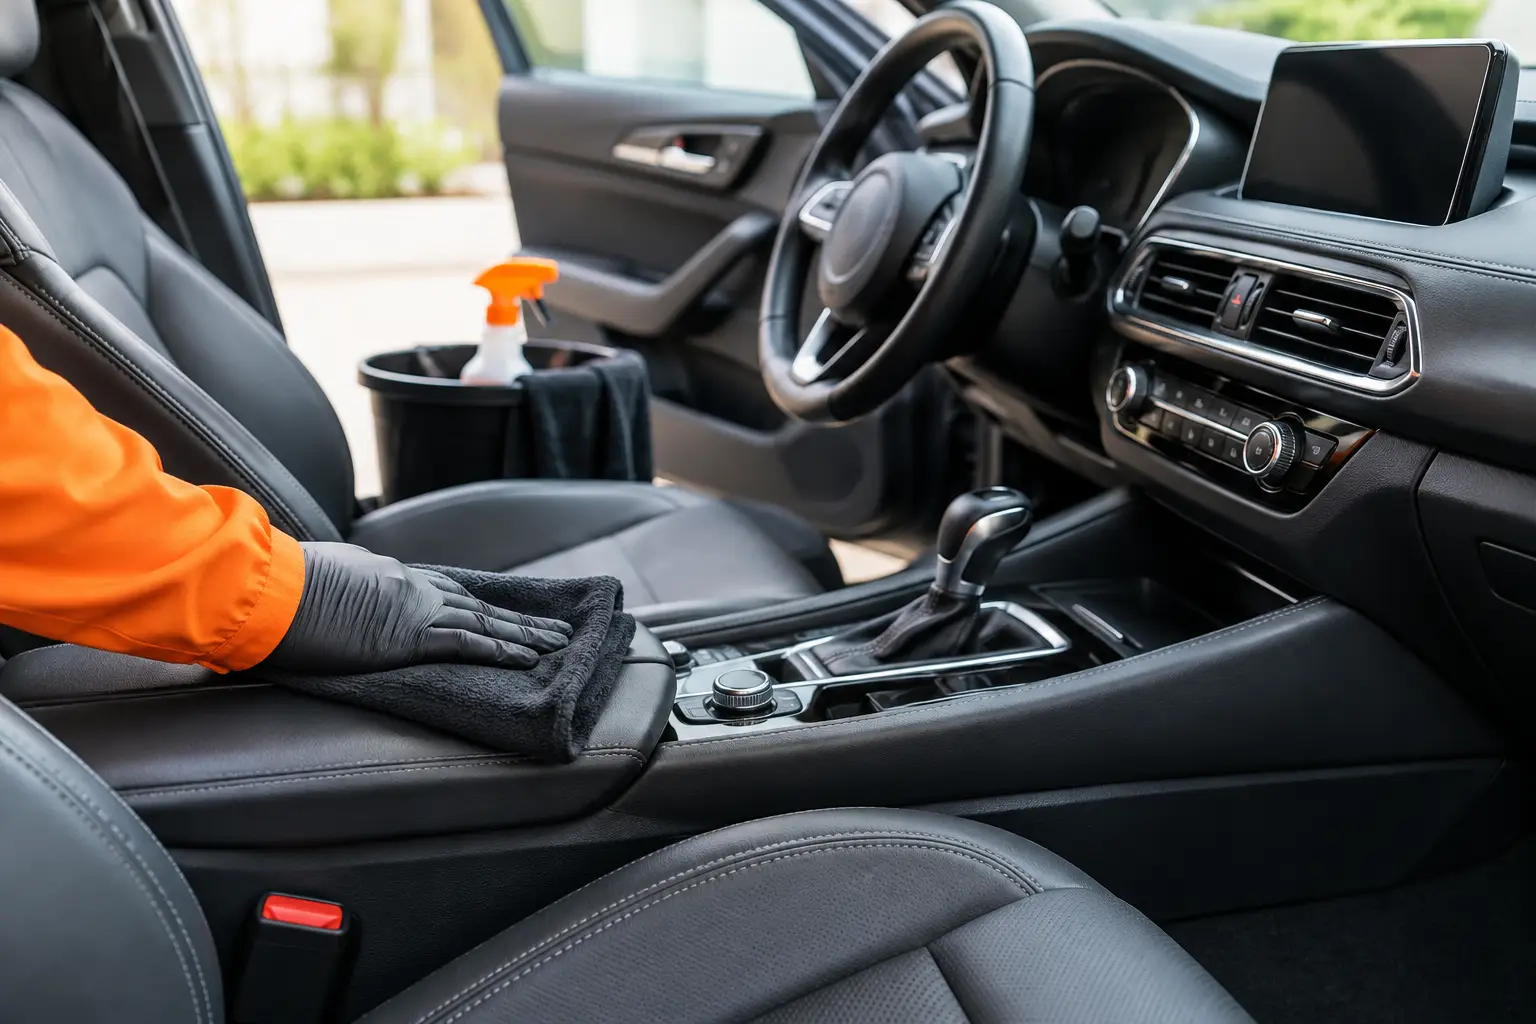
For the dashboard, door panels, steering wheel, shifter, and center console, use a lightly damp microfiber towel with an interior-safe cleaner. A soft brush works well around buttons, vents, stitching, and seams. Do not flood switches, charging ports, or infotainment controls with liquid.
Your steering wheel, turn-signal stalk, door handles, and seat belt buckles deserve extra attention. These are high-touch areas that collect skin oils, sunscreen, hand lotion, and everyday grime. Clean them carefully, then wipe away any remaining product so surfaces do not feel slippery.
Screens, gauges, and glossy trim need less product
Modern vehicle screens can scratch more easily than they appear. Use a clean, dry or barely damp microfiber towel and gentle pressure. Skip household glass cleaners that contain ammonia unless your vehicle manufacturer specifically allows them. Those products can damage some screen coatings and leave haze on clear plastic gauge covers.
Glossy piano-black trim is another common trouble spot. It shows every fingerprint and can pick up fine scratches quickly. Wipe in one direction with a fresh microfiber towel instead of rubbing aggressively in circles.
Vacuum Thoroughly, Not Just the Visible Carpet
After dusting and wiping, vacuum the seats, carpets, floor mats, trunk, and tight gaps. Move the front seats forward and backward to reach the tracks and the carpet below. Use the crevice tool along seat seams, between the console and seats, and around the pedals.
If you have rubber mats, remove them and clean them outside the vehicle. Vacuum loose dirt first, then rinse and use an appropriate mat cleaner if needed. Let mats dry fully before returning them to the car. Wet mats can trap moisture against the carpet and create an unpleasant smell.
For cloth seats, vacuum slowly in overlapping passes. A quick once-over often leaves embedded pet hair, sand, and crumbs behind. Pet hair may need a rubber brush or a slightly damp rubber glove to lift it before vacuuming.
At an express wash, free vacuums can make this step much easier when your home vacuum does not reach the driveway. The key is to give yourself enough time to move seats, lift mats, and get into the areas that are usually ignored.
Treat Stains Based on the Material
The fastest way to make a small stain permanent is to use the wrong cleaner or scrub it harder. Identify the surface first, then start with the mildest method that can work.
For fabric upholstery, blot fresh spills immediately with a clean towel. Do not rub, because rubbing pushes the spill deeper into the fibers and spreads the affected area. Apply upholstery cleaner sparingly, follow the product directions, and blot again. For older stains, repeat a light treatment rather than soaking the seat in one attempt.
Leather and leather-trimmed seats need a cleaner designed for leather or automotive interiors. Wipe gently, dry the surface, and use conditioner only when appropriate for the material. Some newer vehicles use coated leather, vinyl, or synthetic leather that does not need heavy conditioning. Too much product can leave seats shiny, greasy, or slippery.
For carpet stains, work from the outer edge toward the center so the spot does not grow. Food, coffee, and muddy water usually respond well to a targeted carpet cleaner and patient blotting. Greasy stains can be more difficult and may require professional detailing, especially if they have been heated into the carpet during summer.
Handle odors at the source
Air freshener can cover an odor for a day, but it does not remove the cause. Check for forgotten food, damp mats, spills beneath child seats, and debris in seat creases. Vacuuming helps, but odor-causing material may need spot cleaning or steam treatment.
If your cabin has a persistent musty smell, inspect the carpet for dampness and consider the cabin air filter. Smoke odors, pet accidents, mold concerns, and large spills are situations where professional service is often worth it. The right equipment and process can clean deeper without leaving the cabin overly wet.
Finish With Clear Glass and a Quick Reset
Clean interior glass last. This prevents dust and cleaner overspray from landing on it while you work. Spray glass cleaner onto a microfiber towel rather than directly onto the windshield, then wipe one section at a time. Use a second dry towel to buff away streaks.
The inside of the windshield is easy to overlook and can develop a film from dashboard materials, smoking, and everyday driving. Clean glass improves visibility, particularly when low sun, rain, or nighttime headlights hit the windshield.
Before closing the doors, return only the items you truly need. A small trash container, a pack of wipes, and a designated spot for charging cables can help maintain the result. Avoid turning the center console and door pockets back into storage bins.
Know When to Choose Professional Interior Care
A routine clean at home works well for dust, light stains, crumbs, and normal weekly use. Professional interior service makes more sense when time is short, stains are set in, pet hair is everywhere, or the vehicle needs a more complete refresh before a road trip, sale, or special occasion.
At Fusion Carwash, drivers can choose the level of care that fits the day, from a quick stop with vacuum access to full-service attention and available steam detailing. That flexibility matters for families and commuters who want a clean vehicle without making car care another weekend project.
For the best long-term results, do a small reset every week or two and schedule deeper cleaning as needed. The cabin does not have to reach disaster level before it gets attention. A few consistent minutes now can keep every drive feeling more comfortable, organized, and ready for whatever comes next.