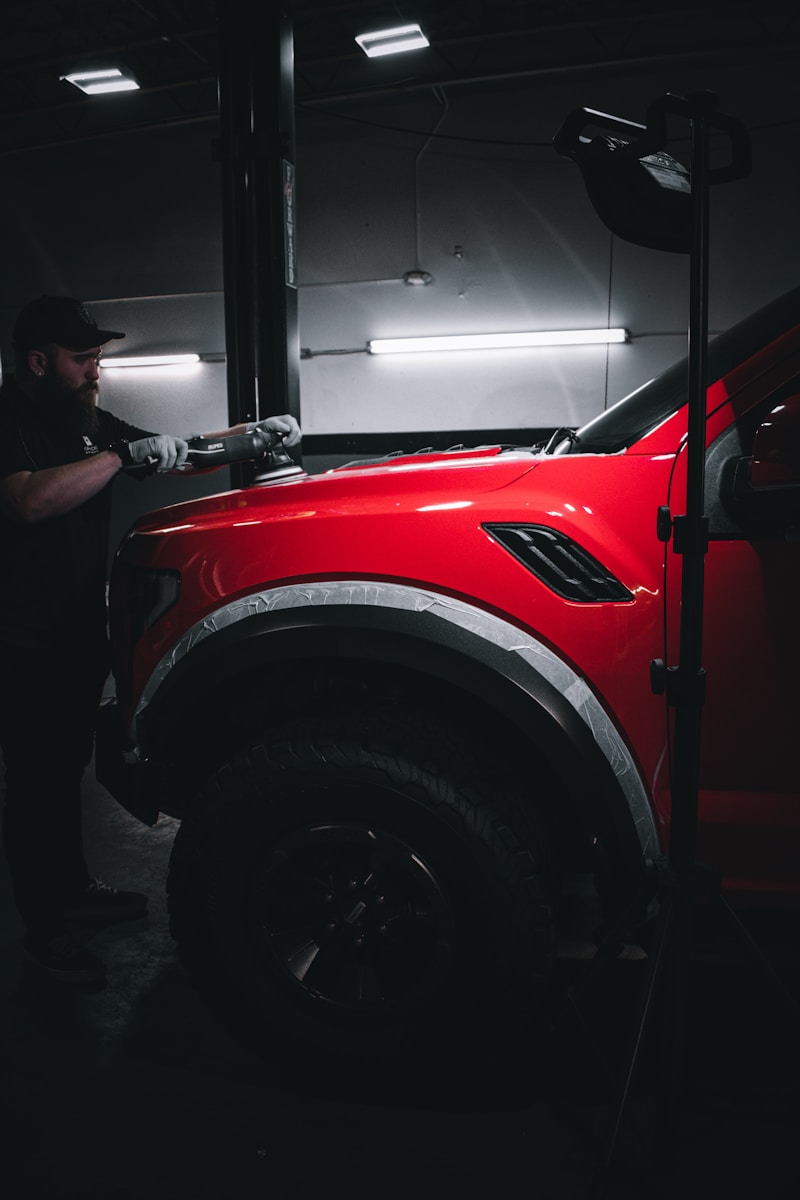
Your car’s paint tells a story. Sometimes that story includes unwelcome chapters about parking lot scratches, swirl marks from automated car washes, and the relentless assault of environmental contaminants. Paint correction offers a way to rewrite that narrative, restoring your vehicle’s finish to showroom condition.
Paint correction has become the gold standard for automotive enthusiasts and everyday drivers who refuse to accept a dull, scratched surface as inevitable. Unlike temporary fixes that mask imperfections, this process permanently removes defects from your car’s paint, revealing the glossy surface that lies beneath years of accumulated damage.
The automotive paint correction process goes far beyond a simple wash and wax. It’s a meticulous procedure that requires specialized knowledge, professional-grade tools, and considerable patience. Whether you’re dealing with light scratches from keys, deep gouges from shopping carts, or the dreaded spider web of swirl marks that seem to multiply after every wash, paint correction can address these surface defects systematically.
Understanding what paint correction can and cannot accomplish helps set realistic expectations for the end result. This comprehensive process can eliminate most surface imperfections, but it’s not magic. The success of any paint correcting session depends on factors like paint thickness, the severity of defects, and the skill level of whoever performs the work.
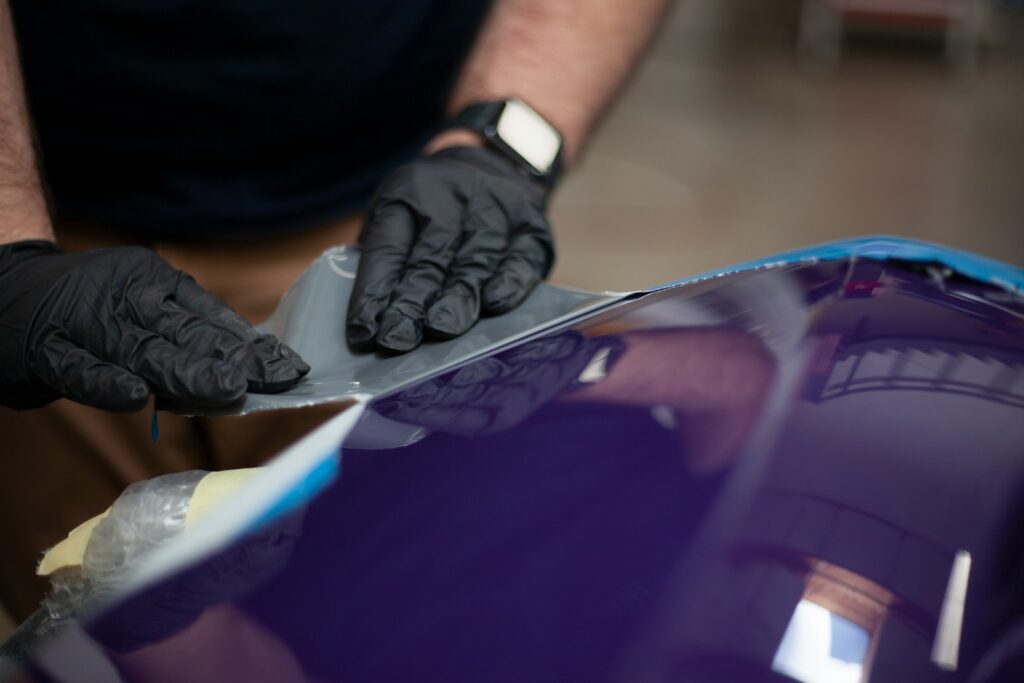
Photo by Clarity Coat on Unsplash
Understanding Paint Defects and Surface Imperfections
Before diving into the paint correction process, you need to identify what you’re working with. Paint defects come in various forms, each requiring different approaches and techniques to achieve the desired results.
Common Types of Paint Damage
Swirl marks represent the most frequent complaint among car owners. These circular patterns appear when dirt particles get dragged across the paint surface during washing or drying. Automatic car washes are notorious culprits, but even hand washing can create swirls if proper technique isn’t followed.
Light scratches typically affect only the clear coat layer. These surface-level imperfections catch light at certain angles, creating visible lines across your vehicle’s finish. Most light scratches can be removed without aggressive methods.
Deep scratches penetrate through the clear coat and into the paint layer itself. The fingernail test helps determine depth: if your nail catches in the scratch, it likely extends beyond the clear coat. These defects require more intensive correction methods.
Water spots form when mineral-rich water evaporates, leaving behind deposits that etch into the clear coat. These circular stains become permanent if left untreated, requiring careful removal techniques to avoid further damage.
Orange peel describes a textured surface that resembles the skin of an orange. This defect typically occurs during the original paint application process and requires wet sanding to achieve a smooth finish.
Bird droppings and tree sap can cause chemical etching if not removed promptly. The acidic nature of these contaminants creates permanent marks that require correction to eliminate completely.
Assessing Paint Thickness
Paint thickness plays a crucial role in determining correction possibilities. Modern vehicles typically have paint systems measuring between 80-120 microns thick. Each correction process removes microscopic amounts of material, so understanding how much clear coat remains becomes essential for planning your approach.
Professional paint thickness gauges provide accurate measurements, helping determine whether aggressive correction methods are safe or if a gentler approach is necessary. Attempting correction on thin paint can result in burn-through, exposing the underlying primer or metal.
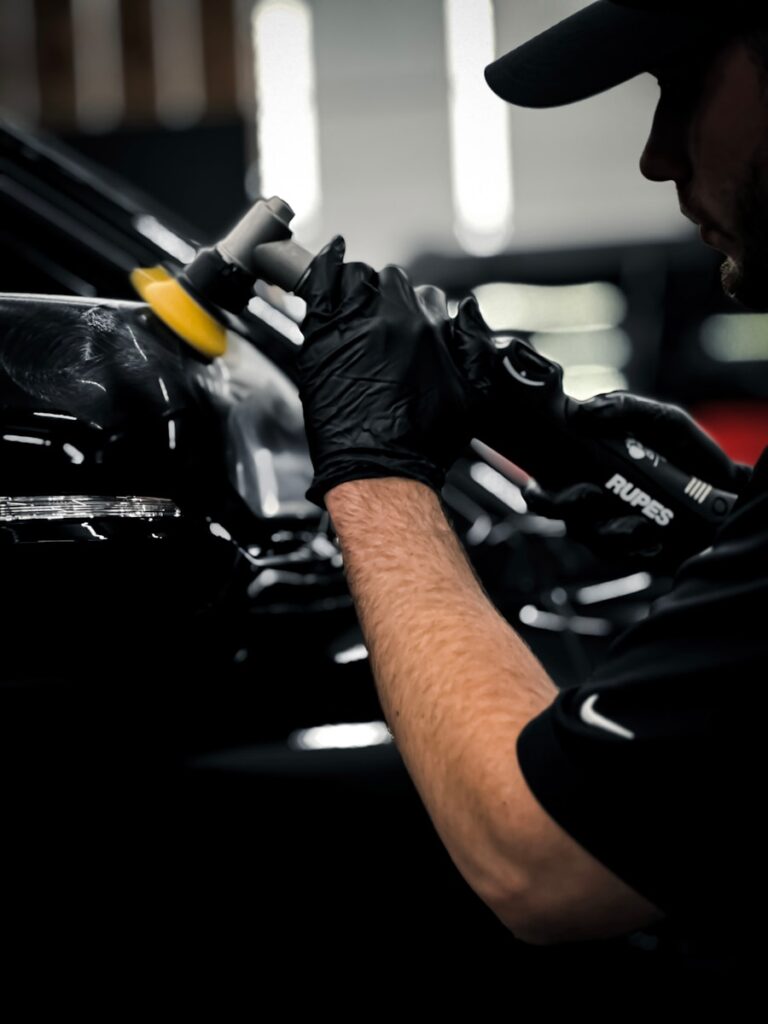
Photo by Zac Nielson on Unsplash
The Paint Correction Process Explained
Paint correction follows a systematic approach that builds from aggressive defect removal to fine polishing for maximum gloss. Each step serves a specific purpose in achieving that flawless finish.
Step 1: Thorough Cleaning and Decontamination
The correction process begins with a comprehensive wash to remove surface dirt and grime. This initial cleaning prevents additional scratches during subsequent steps.
A clay bar treatment follows, removing embedded contaminants that washing alone cannot eliminate. The clay bar pulls out particles lodged in the paint surface, creating a smooth foundation for correction work. This decontamination step is crucial because attempting to polish over embedded contaminants can cause additional scratching.
Step 2: Paint Inspection and Planning
Proper lighting reveals the full extent of paint defects. Professional detailers use high-intensity LED lights to identify every imperfection, categorizing them by type and severity. This inspection determines the appropriate correction strategy and helps estimate the time required for completion.
Different paint types respond differently to correction methods. Single stage paint systems, common on older vehicles, require different techniques than modern base coat/clear coat systems. Understanding your vehicle’s paint type influences tool selection, compound choice, and technique.
Step 3: Compound Application
The actual correction begins with compounding, the most aggressive step in the process. Cutting compounds contain abrasive particles that remove defects by leveling the paint surface. This step eliminates deep scratches, heavy swirl marks, and other significant imperfections.
Machine polishers provide the consistent pressure and motion necessary for effective compounding. Rotary polishers offer maximum cutting power but require skill to avoid burn-through. Dual-action polishers provide gentler action with reduced risk for beginners.
The compound application requires systematic coverage, working in small sections to maintain control. Overlapping passes ensure complete coverage while monitoring heat buildup prevents paint damage.
Step 4: Polishing for Gloss
After compounding removes major defects, polishing refines the surface to achieve maximum gloss. Polish contains finer abrasives that smooth out the microscopic scratches left by compounding.
Multiple polishing stages may be necessary, progressing from medium-cut polish to fine finishing polish. Each stage uses progressively finer abrasives, building depth and clarity in the paint surface.
The polishing process requires different pads than compounding. Softer foam pads provide the gentle action needed for gloss development without introducing new defects.
Step 5: Final Inspection and Touch-ups
Careful inspection under various lighting conditions reveals any remaining imperfections. Spot correction addresses isolated defects without repeating the entire process.
This quality control step ensures the correction meets expectations before applying protection. Any missed spots or newly created defects get addressed before moving to the protection phase.
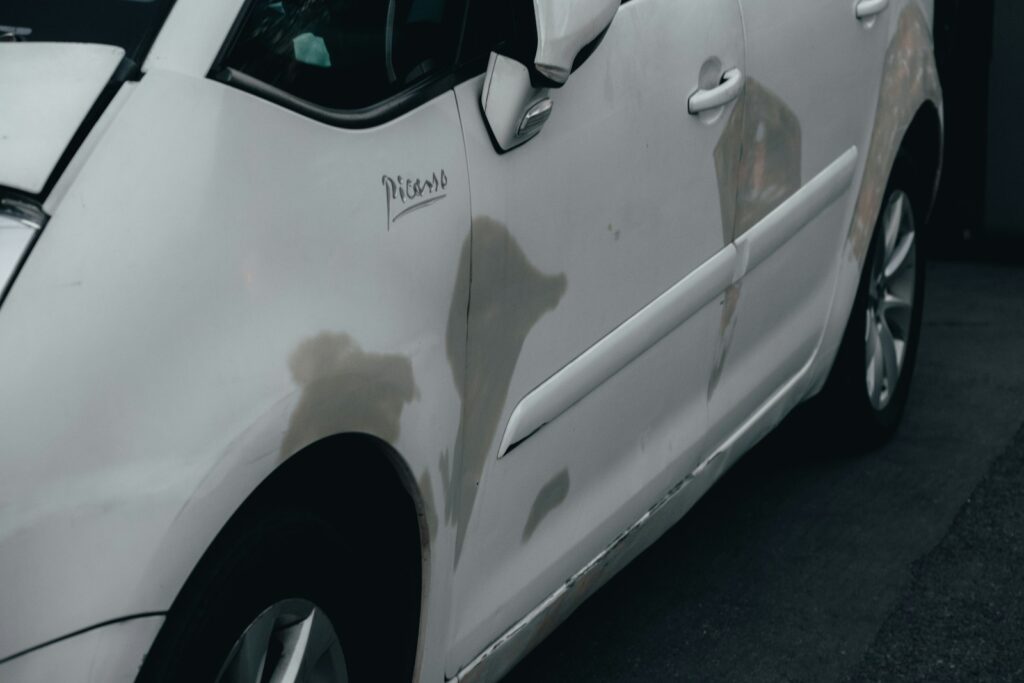
Photo by Kaja Sariwating on Unsplash
Advanced Techniques: Wet Sanding and Color Sanding
Some defects require more aggressive correction methods than polishing alone can provide. Wet sanding represents the most intensive paint correction technique, reserved for severe cases or when pursuing absolute perfection.
When Wet Sanding is Necessary
Orange peel texture, deep scratches that catch your fingernail, and runs in the paint surface often require wet sanding for complete correction. This technique removes more material than polishing, making paint thickness considerations even more critical.
Wet sanding also helps achieve the ultra-smooth surface demanded by show car standards. Even properly applied paint has microscopic texture that wet sanding can eliminate.
Wet Sanding Process
The process uses progressively finer grits of sandpaper, typically starting with 1000-grit and progressing through 2000, 3000, and sometimes 5000-grit. Each grit removes the scratches from the previous grit while introducing finer scratches of its own.
Constant water lubrication prevents loading (clogging) of the sandpaper and reduces heat buildup. The water also helps float away removed paint particles, maintaining cutting efficiency.
After wet sanding, the paint surface appears completely dull and covered in uniform scratches. This appearance is normal and expected – the subsequent polishing process restores gloss while maintaining the smooth surface achieved through sanding.
Color Sanding Considerations
Color sanding refers to wet sanding that reaches into the color coat rather than staying within the clear coat. This aggressive approach requires extreme caution and extensive experience. Most paint correction situations don’t require color sanding, and the technique carries significant risk of irreversible damage.
Paint Correction Cost and Package Options
Professional paint correction represents a significant investment, but understanding pricing factors helps evaluate options and choose appropriate service levels.
Factors Affecting Cost
Vehicle size directly impacts pricing, with larger vehicles requiring more time and materials. A compact car might take 8-12 hours for full correction, while an SUV or truck could require 15-20 hours.
Paint condition determines the level of correction needed. Light swirl marks and minor scratches require less time than deep gouges and heavy oxidation. Severely neglected paint may need multiple correction sessions to achieve optimal results.
Geographic location influences pricing, with metropolitan areas typically commanding higher rates than rural locations. Shop overhead, technician experience, and local competition all factor into pricing structures.
Typical Package Options
Single-step correction addresses light defects and typically costs between $400-800 for average-sized vehicles. This process combines cutting and polishing in one step, providing good improvement for lightly damaged paint.
Multi-step correction involves separate compounding and polishing stages, delivering superior results for moderately damaged paint. Expect to invest $800-1500 for a comprehensive multi-step correction.
Show car correction represents the highest level of paint perfection, often including wet sanding and multiple polishing stages. These premium packages can range from $1500-3000 or more, depending on the vehicle and desired outcome.
Many shops offer paint correction packages that include ceramic coating or paint protection film application. These combination services provide immediate protection for the corrected finish while offering package pricing advantages.
Protection After Correction
Paint correction removes years of accumulated damage, revealing a fresh, vulnerable surface. Immediate protection becomes crucial for maintaining the investment and preventing rapid re-contamination.
Paint Sealant Options
Traditional wax provides basic protection and enhances gloss, but synthetic paint sealants offer superior durability. Modern sealants can protect the corrected finish for 6-12 months with proper maintenance.
Paint sealants bond chemically with the paint surface, creating a protective barrier against UV rays, environmental contaminants, and minor scratches. This protection helps maintain the glossy surface achieved through correction.
Ceramic Coating Benefits
Ceramic coating represents the premium protection option for corrected paint. These coatings form a semi-permanent bond with the paint surface, providing years of protection rather than months.
The hydrophobic properties of ceramic coatings make washing easier and reduce water spotting. The hard surface also provides superior scratch resistance compared to traditional wax or sealants.
Professional ceramic coating application requires specific environmental conditions and curing time. The coating must cure completely before exposure to water or contaminants, typically requiring 24-48 hours in controlled conditions.
Paint Protection Film
Paint protection film (PPF) offers physical protection against rock chips, scratches, and other impact damage. Modern films are virtually invisible when properly installed and can be combined with ceramic coatings for ultimate protection.
PPF installation requires specialized training and equipment, making professional installation highly recommended. Properly installed film can last 7-10 years with minimal maintenance.
DIY vs Professional Paint Correction
The decision between professional service and DIY correction depends on several factors, including budget, available time, and desired results.
DIY Considerations
Home paint correction requires significant equipment investment. A quality polisher, various pads, compounds, polishes, and accessories can easily cost $300-500 or more. Add in paint thickness gauges and proper lighting, and the investment approaches professional service costs.
The learning curve for effective paint correction is steep. Improper technique can worsen existing damage or create new problems. Practice on test panels or less visible areas helps develop skills before tackling prominent surfaces.
Time investment for DIY correction often exceeds expectations. What professionals complete in a day might take weekends of work for novices. Factor in the value of your time when comparing options.
Professional Advantages
Professional detailers bring years of experience and specialized equipment to each project. They understand how different paint systems respond to various correction methods and can adapt techniques accordingly.
Professional shops maintain controlled environments that eliminate variables like temperature, humidity, and dust contamination. These conditions are crucial for achieving optimal results, especially with ceramic coating applications.
Warranty coverage provides peace of mind with professional services. Reputable shops stand behind their work and will address any issues that arise from their correction process.
Making the Right Choice
Consider your goals, budget, and available time when choosing between DIY and professional correction. Light paint defects might be suitable for DIY approaches, while severe damage or high-end vehicles typically benefit from professional expertise.
If choosing the DIY route, invest in proper education through online resources, training videos, or hands-on workshops. The knowledge gained will help avoid costly mistakes and achieve better results.
Maintaining Your Corrected Paint
Paint correction represents the starting point for long-term paint care rather than a one-time fix. Proper maintenance preserves the investment and extends the time between correction sessions.
Proper Washing Techniques
The two-bucket wash method minimizes the risk of introducing new swirl marks. One bucket contains soapy water while the second holds clean rinse water. Rinse the wash mitt in the clean water before reloading with soap to prevent dirt recirculation.
Microfiber wash mitts and towels provide gentler cleaning action than traditional materials. Replace wash mitts when they become contaminated with dirt or debris to prevent scratching.
Regular Maintenance Washes at Fusion Car Wash
Monthly washes at Fusion Car Wash with one of their Unlimited Wash Plans maintain the appearance of your vehicle while quarterly inspections identify developing issues before they become major problems. Address bird droppings, tree sap, and other contaminants immediately to prevent permanent damage.
Recognizing When Re-correction is Needed
Most properly maintained vehicles can go 2-5 years between correction sessions, depending on usage and care. Daily drivers in harsh environments may need correction more frequently than garage-kept weekend vehicles.
Early signs that correction may be needed include decreasing gloss, visible swirl marks in direct sunlight, and water that no longer beads properly on the surface. Addressing these issues promptly prevents more extensive damage.
Choosing the Right Paint Correction Professional
Not all paint correction services deliver the same quality results. Research and careful selection ensure your investment produces the desired outcome.
Questions to Ask Potential Providers
Ask about their experience with your specific vehicle type and paint system. Some shops specialize in certain brands or paint types, while others offer general services.
Inquire about their correction process, including the products and equipment they use. Knowledgeable professionals should be able to explain their approach and why they choose specific techniques for your situation.
Request before-and-after photos of previous work, particularly vehicles similar to yours. Quality shops proudly display their best work and can provide references from satisfied customers.
Red Flags to Avoid
Be cautious of shops that promise unrealistic results or guaranteed outcomes without inspecting your vehicle. Every paint correction situation is unique, and reputable professionals acknowledge limitations.
Extremely low pricing often indicates shortcuts in process, inferior products, or inexperienced technicians. Quality paint correction requires time, skill, and premium materials – all of which command fair pricing.
Shops that can’t explain their process or seem reluctant to discuss techniques may lack the expertise needed for quality results. Professional detailers enjoy discussing their craft and educating customers about proper care.

The Future of Your Vehicle’s Finish
Paint correction transforms your vehicle’s appearance while providing a fresh foundation for ongoing care. The process removes years of accumulated damage, revealing the vibrant finish that originally caught your eye.
Professional paint correction delivers results that extend far beyond mere aesthetics. The improved surface quality makes routine maintenance easier while the applied protection systems guard against future damage. Your investment pays dividends through reduced cleaning time, enhanced resale value, and the satisfaction of driving a vehicle that looks its absolute best.
Whether you choose professional services or embark on the DIY journey, understanding the paint correction process helps you make informed decisions about your vehicle’s care. The knowledge gained through this comprehensive guide provides the foundation for maintaining that flawless finish for years to come.
Consider paint correction not as an expense, but as an investment in your vehicle’s appearance and longevity. With proper planning, execution, and follow-up care, your corrected finish will continue turning heads and bringing satisfaction every time you see your reflection in that perfect paint.
